DIY Guide to Make Car Washer Fluid at Home
Cleaning your car’s windshield can be a real hassle, especially when store-bought washer fluids are either too expensive or full of chemicals you’re not comfortable with.
Many people struggle with finding effective, eco-friendly, and budget-friendly solutions that work well in all weather conditions. You’re not alone in this—making your own car washer fluid at home can be a simple and satisfying alternative.
To make your own car washer fluid at home, gather water, dish soap or gentle detergent, and optional additives like vinegar or essential oils for scent.
Mix them thoroughly in the right proportions, then store the solution in a sealed container away from sunlight.
Adjust the formula based on weather conditions—adding antifreeze for cold or thinning it out in hot weather.
Keep safety in mind and check for signs of spoilage; continue exploring for more detailed tips.
Key Takeaways
- Gather simple ingredients like water, dish soap, vinegar, and essential oils for a cost-effective, eco-friendly cleaner.
- Follow proper ratios and mix thoroughly to make sure your cleaner works well without harming your vehicle.
- Adjust your formulas seasonally by adding antifreeze for winter or reducing water in hot weather.
- Store the homemade solution in airtight containers, keep them away from sunlight, and shake before each use.
- Use safety gear, work in well-ventilated areas, and check for spoilage to stay safe and get the best results.
Why Make Your Own Car Washer Fluid? Benefits and Considerations
Making your own car washer fluid can save you money and give you more control over its ingredients. You’ll notice significant cost savings compared to store-bought brands, especially if you use common household items.
By mixing your own solution, you avoid the extra chemicals and additives often found in commercial products, which can be better for the environment. Homemade washer fluid allows you to choose eco-friendly ingredients, reducing your environmental impact.
Plus, you can tailor the formula to suit different seasons or specific cleaning needs. This customization helps prevent streaking or residue, ensuring a cleaner view on the road.
While making your own fluid requires some effort upfront, the long-term benefits include savings and a more sustainable approach. Just keep in mind that using the right ingredients is essential for safety and effectiveness.
What You Need to Make Homemade Washer Fluid
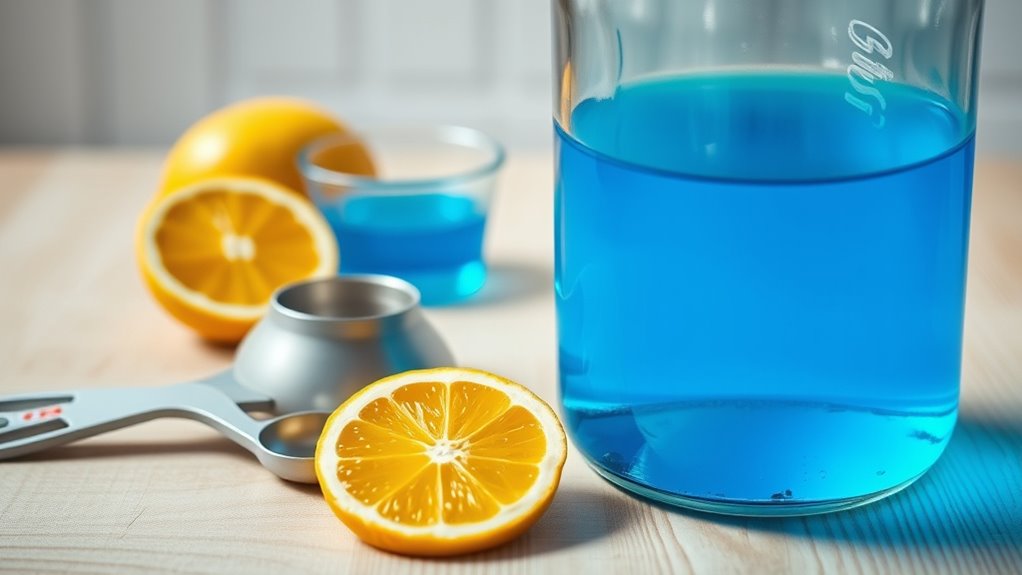
To create effective homemade washer fluid, you’ll need just a few simple ingredients and some basic supplies. Start with water as your base, then add a cleaning agent like dish soap or a commercial concentrate.
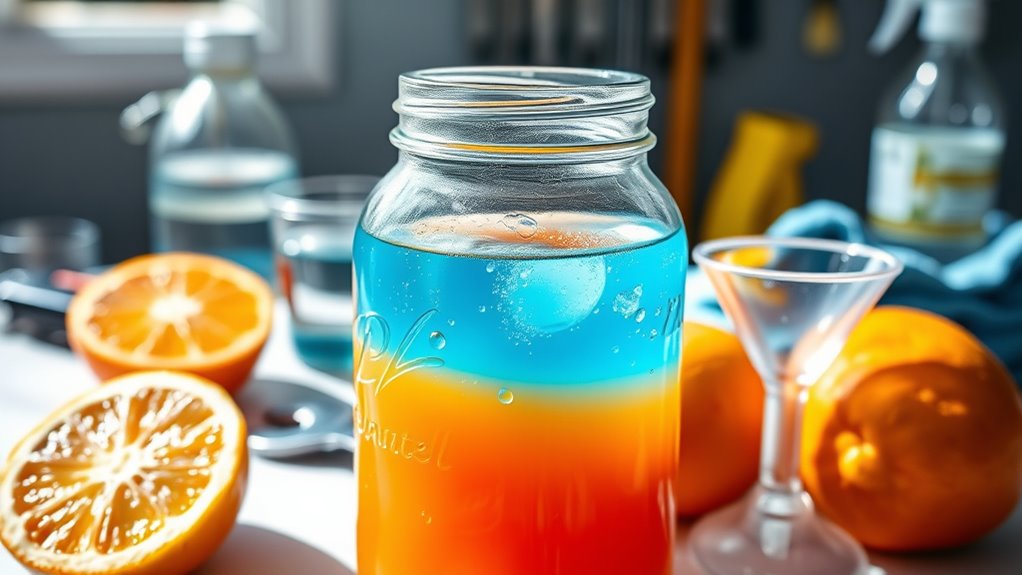
Create DIY washer fluid with water, dish soap, and optional scents or color for a personalized clean.
You can also include a small amount of rubbing alcohol to prevent freezing in colder weather. For scent options, consider adding a few drops of essential oils such as lemon, eucalyptus, or lavender to give your fluid a fresh smell.
Regarding color choices, food coloring works well and allows you to customize the look of your fluid. Be sure to use only safe, non-toxic dyes to avoid any damage to your vehicle’s paint or windshield.
Finally, keep everything in a clean, leak-proof container, and label it clearly. With these supplies, you’ll be ready to mix your own personalized, effective washer fluid at home.
Step-by-Step: Preparing Basic DIY Car Washer Fluid
Sure! Here’s a more conversational version of your text:
—
If you want to make your own DIY car washer fluid, the first thing you should do is gather all the ingredients you’ll need. It’s best to do this carefully so nothing gets missed. Once you have everything, mix the ingredients thoroughly—take your time to ensure everything is well combined and safe to use.
After that, make sure to store your homemade washer fluid properly, keeping it in a sealed container in a cool, safe place. And don’t forget to use it within its best-before date to get the best cleaning results for your car.
Gather Necessary Ingredients
Gathering the necessary ingredients is the first step in preparing your basic DIY car washer fluid. You should identify reliable sources like grocery stores or hardware shops to find the key components.
The main ingredients usually include water, dish soap or a gentle detergent, and optional additives like vinegar or rubbing alcohol. Before mixing, figure out the right ratios to ensure your fluid works well without causing damage.
A common mix is one part dish soap to three or four parts water. Having all your ingredients ready and knowing the proper proportions will help you make a safe, affordable, and effective car washer fluid tailored to your needs.
Mix Properly and Safely
Once you’ve gathered all your ingredients, it’s really important to mix them carefully to ensure safety and effectiveness. Use gentle techniques like gradually adding liquids and stirring slowly to avoid splashes.
Always follow safety precautions, such as wearing gloves and working in a well-ventilated space. Keep an eye on ingredient amounts to prevent any unwanted reactions or damage.
Here’s a quick guide to help you out:
| Step | Action | Tip |
|---|---|---|
| Prepare workspace | Clear the area and ventilate | Avoid inhaling fumes |
| Measure ingredients | Use accurate tools | Prevent incorrect mixing |
| Add liquids | Pour slowly into the container | Minimize spills |
| Stir thoroughly | Mix until everything is uniform | Ensure even distribution |
| Check safety | Make sure no reactions are happening | Keep safety first |
Following these steps will help make sure your DIY washer fluid is safe to use and works well.
Store and Use Correctly
After preparing your DIY car washer fluid, it’s important to store it properly to keep it effective and safe. Use containers like plastic bottles or jugs with tight caps to prevent leaks and spills.
Be sure to label the containers clearly with the contents and the date you made it. Store the fluid in a cool, dry place, away from direct sunlight and heat sources to maintain its quality.
Always follow usage instructions, like avoiding mixing it with incompatible chemicals or using more than recommended. Keep the containers out of reach of children and pets to prevent accidental ingestion.
How to Adjust Your Washer Fluid for Cold, Hot, and Humid Weather
Adjusting your washer fluid based on the weather makes sure it works well and stops freezing or streaking. In cold weather, boost the antifreeze in your mixture by changing the ratios, so it won’t freeze on chilly mornings. Use more alcohol-based additives to keep the fluid liquid in freezing temps.
For hot weather, cut back on the water in your mixture to prevent boiling or quick evaporation. You might also add a UV protectant to shield against sun damage. In humid conditions, go for a thinner, more water-like consistency to reduce streaking and improve cleaning.
Adding a small amount of dehumidifier or alcohol can help prevent mold and bacteria from growing in your reservoir. Always test your adjustments by seeing how the fluid performs on your windshield before relying on it.
Properly adjusting your washer fluid for the weather keeps your visibility clear and your windshield clean, no matter the climate.
Safety Tips for Mixing and Handling DIY Washer Fluids
Handling and mixing DIY washer fluids requires careful attention to safety to prevent accidents or injuries. Always wear appropriate safety gear, such as gloves and goggles, to protect your skin and eyes from harmful chemicals.
Be aware that chemical reactions can happen if you mix incompatible substances, so double-check your ingredients and measurements. Make sure you’re working in a well-ventilated area to avoid inhaling fumes, which can cause dizziness or respiratory issues.
Keep a first aid kit nearby in case of accidental spills or contact with skin or eyes. Never leave chemicals unattended while mixing, and avoid eating or drinking during the process.
If you experience any irritation or exposure, follow proper first aid procedures immediately. Taking these precautions seriously helps reduce the risk of accidents and ensures your DIY washer fluid is safe to use.
Prioritize safety to make your project both effective and hazard-free.
Common Mistakes to Avoid When Making DIY Washer Fluid
Making DIY washer fluid can save you money, but it’s easy to fall into common pitfalls that hurt safety or effectiveness. One big mistake is ignoring proportions—using too much or too little of certain ingredients can reduce cleaning power or damage your car’s paint. Always follow a tested recipe and measure carefully.
Another mistake is neglecting ingredient quality. Cheap or expired supplies can clog nozzles or leave residue. Stick to high-quality, recommended ingredients for better results. Avoid rushing through the process; thorough mixing ensures even distribution of components.
Also, never substitute ingredients without doing your research. Incompatible chemicals can create dangerous fumes or damage your windshield. Keep in mind that proper proportions and ingredient quality are key to making a safe, effective washer fluid.
How Long Does Homemade Washer Fluid Last? Storage Tips
Homemade washer fluid doesn’t last forever, so storing it properly can save you time and money. Usually, it stays good for about one to two months if you keep it in the right conditions.
Use airtight containers like glass or plastic bottles with secure caps to prevent evaporation and contamination. Store them in a cool, shaded spot away from direct sunlight and extreme temperatures, which can break down the solution.
Give the bottle a gentle shake before each use so the ingredients stay mixed. Avoid leaving the fluid exposed to air for too long, as this can cause bacteria growth or evaporation.
Check the solution regularly for signs of spoilage, like cloudiness or a bad smell. Discard it if anything seems off. Proper storage helps your homemade washer fluid stay effective and safe for as long as possible.
Eco-Friendly DIY Washer Fluid Alternatives
Switching to eco-friendly washer fluid alternatives helps reduce your environmental impact without sacrificing cleaning power. You can create natural ingredient-based solutions that are safe for the planet and your vehicle.
Switch to eco-friendly washer fluids with natural ingredients for effective, planet-safe vehicle cleaning.
These alternatives often cost less and can be adjusted seasonally to match weather conditions. Here are some tips:
- Use distilled water combined with natural ingredients like vinegar or castile soap for effective cleaning and less chemical runoff.
- Add essential oils like lemon or eucalyptus for extra cleaning power and a fresh scent.
- Adjust your mixture depending on the season. Thicker solutions or a bit of alcohol in winter can prevent freezing and boost cleaning.
Troubleshooting Homemade Washer Fluid That Won’t Clean
If your DIY washer fluid isn’t cleaning effectively, the problem often lies in the mixture’s formulation or application. Poor cleaning can happen if ingredients are diluted or inconsistent.
First, check the quality of your ingredients—using low-quality or expired components can weaken cleaning power. Make sure you’ve measured everything accurately, especially soap, vinegar, or alcohol, since improper ratios reduce effectiveness.
Also, verify that your mixture has the right balance of cleaning agents and water. Too much water or weak soap can make the solution less effective against dirt and grime.
Consider your application process, too. If your nozzle is clogged or old, cleaning or replacing it can improve spray and coverage. Regularly inspect your washer fluid for separation or cloudiness, which signals ingredient issues.
Quick Tips for Effective DIY Car Washing
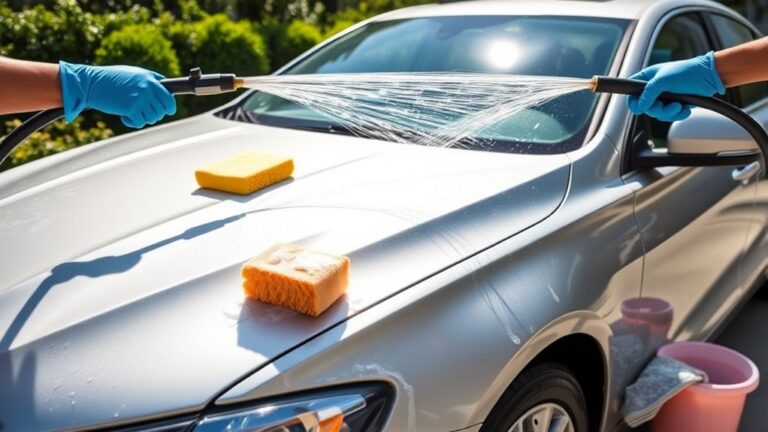
For the best results, start your car wash with a thorough rinse to remove loose dirt and debris. This initial step prevents scratches and guarantees cleaner results.
Begin your car wash with a thorough rinse to remove dirt and prevent scratches.
To maximize your cleaning efficiency, follow these quick tips:
- Use effective tools like soft sponges or microfiber cloths to avoid scratching your paint.
- Apply your homemade washer fluid evenly, starting from the top and working downward, to prevent streaks.
- Focus on using proper car washing techniques, such as gentle circular motions, to lift dirt without damaging the surface.
Frequently Asked Questions
Can Homemade Washer Fluid Damage My Car’s Paint or Windshield?
Homemade washer fluid generally won’t damage your car’s paint or windshield if you use the right ingredients and avoid harsh chemicals. Stick with safe things like water, vinegar, or a mild dish soap to keep your paint protected while cleaning your windshield effectively.
Just be careful not to add abrasive substances or too much of any chemical. That could damage your paint or leave streaks on your glass. Proper formulation helps keep your car looking good and functioning properly.
Are There Any Allergens or Irritants in Homemade Washer Fluids?
Homemade washer fluids can contain allergens like fragrances or certain cleaning agents, which might cause irritation symptoms such as skin redness or eye discomfort.
If you have sensitive skin or allergies, it’s important to choose ingredients carefully and test the mixture first.
Always wear gloves and eye protection when preparing the solution. If irritation occurs, rinse thoroughly and consider switching to a commercial product made for sensitive skin.
How Often Should I Replace or Top up My DIY Washer Fluid?
You should replace or top up your DIY washer fluid every 2-4 weeks, especially if you’re using it heavily or if the weather is changing.
According to vehicle maintenance stats, an average car uses about 1.5 gallons of washer fluid each year.
Stick to these guidelines to avoid streaks or poor cleaning. Always store your fluid in a sealed container, away from heat and sunlight, to keep it effective and prevent contamination.
Will Homemade Washer Fluid Work Effectively in Heavy Mud or Bug Splatter?
Homemade washer fluid can handle light mud and bug splatter, but it might struggle with heavy mud removal techniques or stubborn bug splatter solutions. For tough grime, consider using a stronger solution or pre-treating the area.
You may also need to use a brush or sponge before rinsing with your DIY fluid. Remember, consistent top-ups guarantee your homemade solution stays effective for various cleaning challenges.
Is Homemade Washer Fluid Compatible With All Types of Windshield Wipers?
You’ll find that homemade washer fluid generally works with most windshield wipers, but compatibility can vary.
For example, if your vehicle has silicone or rubber wipers, a poorly formulated fluid might cause streaking or damage over time.
To make sure your DIY fluid won’t harm your wipers, choose formulas with gentle cleaning agents and avoid harsh chemicals.
Always test a small area first to confirm compatibility and prevent potential damage.
Conclusion
Making your own car washer fluid is a simple, budget-friendly way to keep your vehicle sparkling while being gentle on the environment. With just a few ingredients and some safety tips, you can customize your solution for any weather, kind of like a modern-day alchemist.
Remember, proper storage and troubleshooting will ensure your homemade washer fluid stays effective. Welcome to this DIY adventure, and soon you’ll be a pro at keeping your car clean—no need to call upon Merlin for magical results.