10 Essential Steps to Do Your Own Car Wash at Home
Keeping your car shiny and spotless can feel like a chore, especially when you’re busy or unsure where to start. You’re not alone—many people struggle with figuring out the best way to do a DIY car wash at home. But don’t worry, with a few simple steps, you can get your vehicle looking its best without heading to the car wash.
To wash your car at home, start by gathering supplies like soap, buckets, sponges, and towels. Then set up your workspace in a shaded area. Rinse your car thoroughly to remove loose dirt, wash in sections with gentle tools, and clean wheels separately.
Dry completely, then apply wax or sealant for shine. Finish by cleaning windows and mirrors. For a smooth, safe finish, check your work. If you keep going, you’ll uncover more tips to perfect your car care routine.
Key Takeaways
- Prepare a clean, shaded workspace with organized tools and a rinse station for efficient washing.
- Use gentle, pH-balanced soap and soft cleaning tools to prevent scratches and ensure thorough cleaning.
- Rinse the vehicle thoroughly from top to bottom before washing in sections to loosen dirt.
- Dry the car completely with microfiber towels to avoid water spots and streaks.
- Finish with waxing, window cleaning, and a final inspection to boost the car’s look and safety.
Gather Your Supplies and Set Up Your Workspace
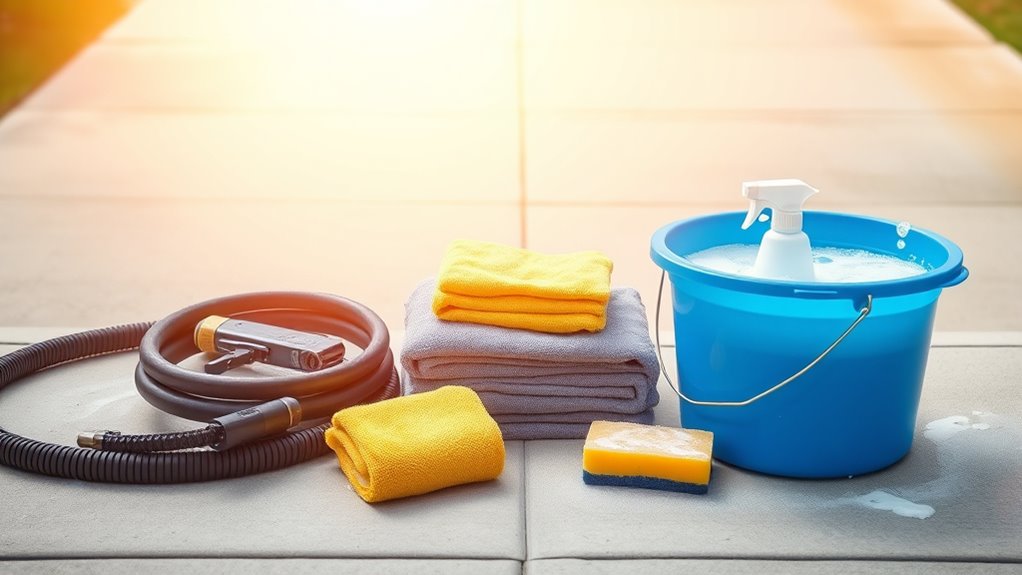
Before you start cleaning, gather all your supplies and find a good spot to work. Organizing everything beforehand makes the process smoother. Place your soap, buckets, sponges, microfiber towels, and brushes within easy reach.
Gather your supplies and choose a convenient spot to make your car wash smooth and efficient.
Keep everything in one designated area so you don’t have to make extra trips. Next, think about your workspace layout. Choose a shaded outdoor spot or a well-ventilated garage to stop soap and water from drying too fast.
Clear away any clutter and set up your buckets and tools in an orderly way. Have a rinse station nearby with a hose or pressure washer. Make sure your towels and drying cloths are clean and ready to go.
A well-planned workspace helps you work efficiently and keeps your supplies neat. Proper organization and thoughtful setup save time and make your DIY car wash safer and more fun.
Choose the Right Car Wash Soap and Tools
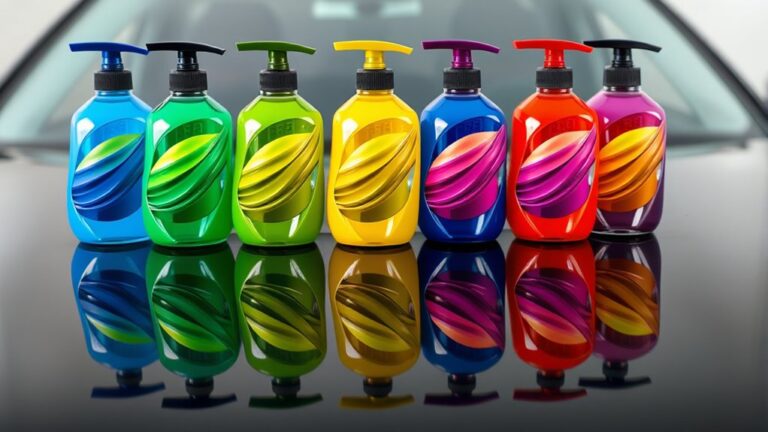
Choosing the right car wash soap and tools is key to getting a clean, scratch-free finish. The soap you pick affects how well dirt lifts without harming your paint. Look for gentle, pH-balanced options made specifically for cars.
When it comes to washing tools, go for soft, plush wash mitts or microfiber cloths that won’t scratch your surface. Avoid sponges or rough scrubbers, which can cause damage.
Here are some tips:
- Pick car soaps that are gentle but effective
- Use microfiber wash mitts for a soft touch
- Choose ergonomic, non-slip handles for easy use
- Invest in a good bucket with a grit guard
- Use drying towels that absorb well without scratching
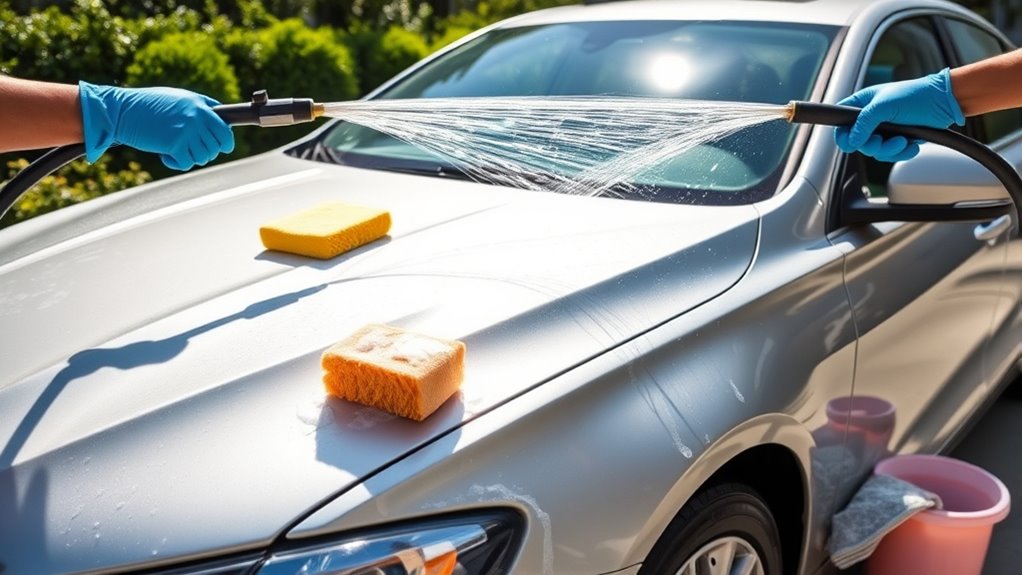
Rinse Your Car to Remove Loose Dirt
Start by thoroughly rinsing your car with a gentle stream of water to loosen and remove loose dirt, dust, and debris. Using a foam cannon can help because it creates a thick layer of foam that lifts dirt without scratching your paint.
Before rinsing, pay attention to water temperature; lukewarm water works best because it helps loosen grime more effectively than cold water. Avoid high-pressure streams that could damage your paint or force dirt into crevices.
Use lukewarm water before rinsing to loosen grime without damaging paint or forcing dirt into crevices.
Begin at the top of the vehicle and work your way down, making sure all surfaces are evenly rinsed. This initial rinse prepares your car for a more thorough clean and reduces the risk of scratching during the next steps.
Make sure to cover all areas, including the wheels and undercarriage, to remove as much loose dirt as possible. Proper rinsing sets a clean foundation for the rest of your car wash process.
Wash Your Car in Sections Using Proper Technique
To guarantee a thorough and streak-free clean, wash your car in sections instead of all at once.
Using proper section techniques helps you avoid missing spots or causing streaks. Work systematically by dividing your car into manageable parts like the roof, hood, doors, and trunk.
Focus on one section at a time, applying soap and water, then rinsing before moving on to the next. Keep your wash intervals short so dirt doesn’t settle back on the surface.
This approach prevents scratches and makes your wash more efficient.
Clean Wheels and Tires Separately for Better Results
Cleaning your wheels and tires separately from the rest of the car guarantees a more thorough and effective clean. By focusing on these parts individually, you can better target brake dust, grime, and stubborn dirt.
Use specific wheel cleaning techniques like scrubbing with a wheel brush and choosing the right cleaner for your wheel type. For tires, consider various tire dressing options to improve appearance and protect rubber from cracking.
Here’s a quick comparison:
| Wheel Cleaning Techniques | Tire Dressing Options | Benefits |
|---|---|---|
| Use a dedicated brush | Apply a water-based dressing | Restores shine and protects tires |
| Use a wheel cleaner spray | Use a silicone-based dressing | Improves visual appeal |
| Scrub in circular motions | Opt for matte or gloss finishes | Long-lasting protection |
| Rinse thoroughly | Reapply as needed | Keeps tires looking new |
| Dry with a microfiber cloth | Avoid over-application | Prevents sling and mess |
Focusing separately guarantees you achieve that spotless, professional look.
Rinse Off All Soap and Dirt Thoroughly
Once you’ve thoroughly scrubbed your wheels and tires, it’s time to rinse away all the soap and dirt. Use strong water pressure to make sure everything gets washed away, but be careful not to use too much pressure that could damage your paint.
Keep the nozzle at a consistent angle and move systematically across your car’s surface. This helps prevent streaks or missed spots, making your rinse more effective.
Here are some tips to make the process easier:
- Start from the top and work downward to catch falling dirt.
- Use wide, sweeping motions for even coverage.
- Keep the nozzle about 2-3 feet from the surface.
- Rinse in sections to avoid soap drying before removal.
- Check for missed spots or stubborn dirt and re-rinse if needed.
Focus on thorough coverage and steady water pressure to remove all soap and dirt. When done, your car will be clean and ready for drying.
Dry Your Car Completely to Prevent Water Spots
After rinsing your car, it’s essential to dry it thoroughly to prevent water spots from forming as the remaining droplets evaporate. Proper drying techniques that remove every trace of water are key to water spot prevention.
Use a clean, soft microfiber towel and gently blot or wipe the surface. Avoid circular motions, which can cause scratches. For larger areas, a blower or leaf blower can help remove water from crevices and hard-to-reach spots.
Pay special attention to windows, mirrors, and trim, as these areas are more prone to spotting. Make sure to change towels if they become saturated to avoid spreading dirt.
Consistent, careful drying greatly reduces the risk of water spots and keeps your car looking pristine. Remember, the key is to dry quickly and completely so your car remains shiny and spot-free long after your wash.
Apply Wax or Sealant for a Long-Lasting Shine
Applying wax or sealant is your final step to get a deep, long-lasting shine on your car. Use the right techniques—apply in small, circular motions to ensure even coverage.
Sealants tend to last longer and offer better UV protection than traditional wax. Make sure your car’s surface is cool and dry before you start, and avoid direct sunlight.
Sealants provide longer-lasting protection and better UV defense than traditional wax. Apply on cool, dry surfaces away from sunlight.
Use a clean, soft applicator pad or microfiber cloth, working on one section at a time. Let the wax or sealant haze or cure as per the product instructions.
Once it’s ready, buff off with a clean cloth. This not only boosts the shine but also adds a protective layer against dirt and contaminants.
Keep these tips in mind for a smooth application and a gleaming finish that lasts. Your car will look showroom-ready with minimal effort!
Clean the Windows and Mirrors for Clear Visibility
To guarantee you have clear visibility while driving, it’s essential to thoroughly clean your windows and mirrors. Proper window cleaning removes dirt, smudges, and streaks that can impair your view.
Start by using a glass-specific cleaner and a microfiber cloth to wipe down all glass surfaces. Pay close attention to both the inside and outside of your windows, as both can accumulate grime.
Mirrors also need focused cleaning; use the same cleaner for a streak-free finish. For the best visibility, avoid cleaning in direct sunlight, which can cause streaks to set.
Instead, clean on a shaded day or in a shaded area. Wipe in a circular motion, then buff with a dry cloth for a clear, polished look.
Clean windows and mirrors improve your overall driving safety by providing maximum visibility, helping you spot hazards early and drive confidently.
Inspect Your Car and Do Any Final Touch-Ups
Before you finish your car wash, take a thorough walk-around to inspect your vehicle for any missed spots or issues. This final check is key to making sure your car looks its best and stays well-maintained.
Look for streaks, spots, or missed patches of dirt, especially in hidden areas. Use your detailing tips to spot any spots needing touch-ups. Check the tires for grime or water spots and the trim for leftover soap residue.
Also, inspect the windows and mirrors for streaks to keep visibility clear. Double-check all surfaces for missed dirt or soap residue. Wipe down any streaked windows or mirrors as needed.
Touch up any spots with a clean microfiber cloth. Inspect the tires for cleanliness and shine. Make sure all water spots or streaks are removed from painted surfaces.
This step guarantees a polished, professional finish to your DIY car wash.
Frequently Asked Questions
How Often Should I Wash My Car at Home?
You should wash your car at home about every two weeks to keep it looking fresh and protect the paint.
Adjust your washing frequency based on the season—wash more often in winter to remove salt and grime, and less in dry seasons.
Regular washing prevents dirt buildup and corrosion, helping your car stay in top shape.
Keep an eye on the weather to decide the best time to wash your car.
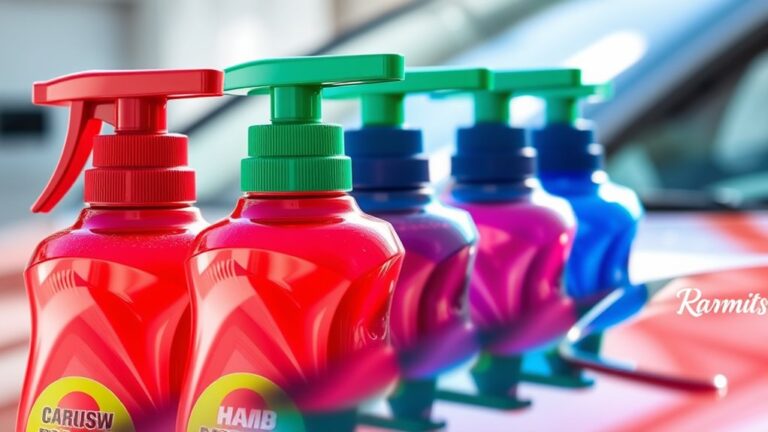
Can I Use Household Cleaning Products on My Car?
You shouldn’t use household cleaning products on your car because they can damage the paint and finish. Instead, try car soap alternatives or DIY cleaning solutions made specifically for vehicles. These are gentle but effective, helping you clean without harming the surface.
Household cleaners like dish soap or all-purpose sprays might seem convenient, but they often strip wax or cause scratches. So, it’s best to stick with products designed for car care.
What Safety Precautions Should I Take During Washing?
You should prioritize water safety and watch out for slip hazards during your car wash. Wear non-slip shoes and make sure the ground is dry to prevent falls.
Use a hose with a controlled spray to avoid water splashing onto electrical outlets or power tools. Keep the area organized, and never point the hose at yourself or others.
Taking these precautions keeps your washing safe and enjoyable.
Is It Better to Wash My Car in Direct Sunlight?
Is washing your car in direct sunlight like baking a cake? It’s better to avoid it because sunlight can cause water spots and streaks.
Plus, water temperature rises quickly, making soap dry too fast and leave residues. Washing in the shade keeps your car cooler and water more controllable.
Soap stays effective longer, and you get a better, streak-free finish. So, for a spotless look, pick a shady spot instead of the glaring sun.
How Do I Remove Stubborn Stains or Bird Droppings?
To remove stubborn stains or bird droppings, use effective stain removal and proper cleaning techniques. Start by soaking a soft cloth in warm, soapy water and gently applying it to the stain.
For tougher spots, try a car-safe stain remover. Let it sit for a few minutes before gently scrubbing. Always rinse thoroughly to remove any residue.
Avoid harsh scrubbing that could damage your car’s paint. Being gentle is key to keeping your car looking its best.
Conclusion
Just like tuning a guitar, a little effort in your car’s care pays off with a beautiful, shining result. Remember, taking the time to do it right at home isn’t just about saving money. It’s about giving your car the attention it deserves.
When you see that mirror-like shine and spotless finish, you’ll know your hard work was worth it. A clean car is like a well-played song—smooth, satisfying, and truly yours. Doing your own car wash at home boosts your pride and keeps your vehicle looking its best.