How to Use Gold Class Car Wash With a Foam Gun
Keeping your car spotless can be a real challenge, especially when you’re trying to get that perfect foam coverage. Many car enthusiasts struggle with achieving an even, thick foam layer that really lifts dirt without wasting time or product.
If you want professional-looking results at home, using a Gold Class Car Wash with a foam gun is a game-changer.
To use Gold Class Car Wash with a foam gun, start by rinsing your vehicle to remove loose dirt. Fill the foam gun with the recommended diluted Gold Class solution and adjust the nozzle for your desired foam thickness.
Spray evenly across all surfaces in sweeping motions, keeping a steady distance. Rinse the car gently from top to bottom afterward.
If you want detailed tips on achieving perfect foam coverage and maintenance, keep going for expert advice.
Key Takeaways
- Fill the foam gun with Gold Class concentrate and water, then adjust the nozzle to get the foam you want.
- Rinse your vehicle thoroughly to remove loose dirt before applying the foam.
- Spray the foam evenly over the car in sweeping motions, keeping a steady distance.
- Let the foam sit for a moment, then rinse the car from top to bottom with gentle water flow.
- After you’re done, clean and store the foam gun properly to keep it in good shape for next time.
Getting Started: Using Gold Class Car Wash With a Foam Gun
To get started with Gold Class Car Wash using a foam gun, first prepare your car wash solution. Fill the foam gun with the recommended dilution of Gold Class Car Wash, following the instructions on the bottle.
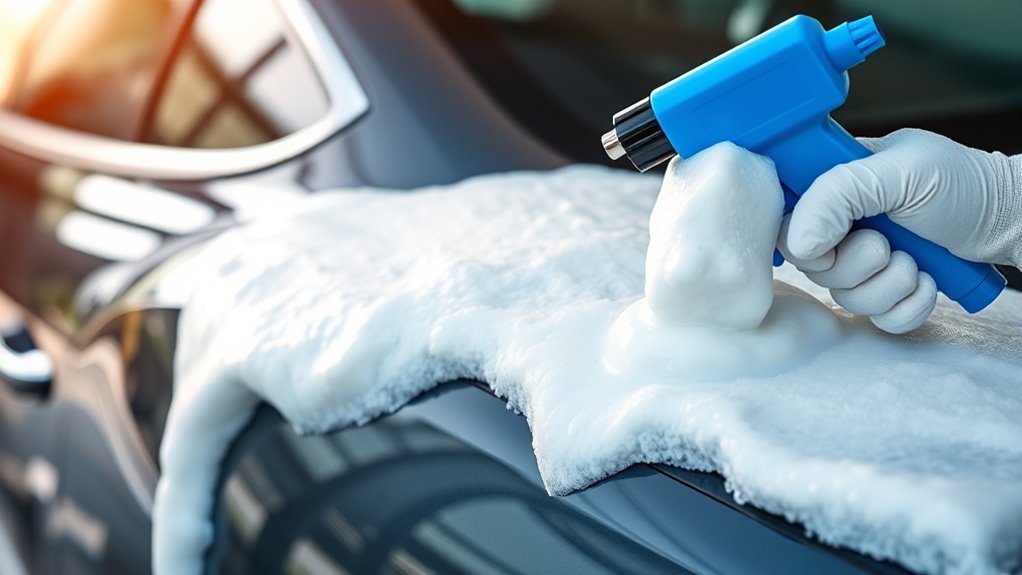
The foam gun creates a thick, even layer of foam that sticks to your vehicle’s surface. This makes dirt and grime easier to loosen. It not only boosts cleaning power but also makes the wash more efficient by reducing the need for scrubbing.
The foam gun applies a thick foam that loosens dirt and enhances cleaning efficiency.
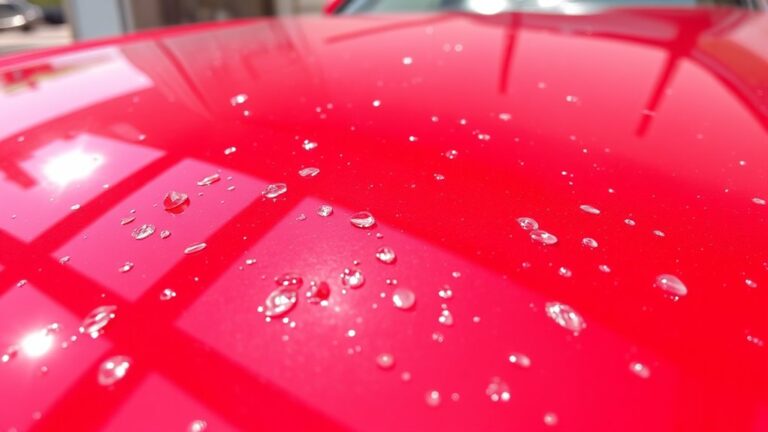
As you spray, you’ll see rich foam quickly covering your car. This helps you see where you’ve applied the soap. The foam acts as a lubricant, protecting your paint and making the wash gentler.
Using a foam gun streamlines the whole process, saving you time and water. It also helps you get a more thorough clean. Once your car is evenly coated, you’re ready to rinse and detail.
Preparing Your Car and Equipment for a Safe, Effective Wash
Before you start washing, it’s essential to prepare your car and equipment to guarantee a safe and effective clean. Proper equipment prep helps prevent scratches and damage, ensuring a safe car wash.
Begin by rinsing your vehicle with water to remove loose dirt and debris. This step reduces the risk of scratching the paint during washing.
Next, inspect your foam gun and hoses for leaks or damage, making sure everything works correctly. Check that your wash mitt or sponge is clean and free of abrasive dirt that could harm your car’s surface.
It’s also helpful to gather all your supplies in one place so you don’t have to search during the wash. Preparing your equipment beforehand saves time and keeps the process safe and efficient.
When your car and tools are ready, you’re set for a thorough, scratch-free wash that leaves your vehicle spotless and protected.
How to Fill Your Foam Gun With Gold Class Car Wash Solution
Fill your foam gun with Gold Class Car Wash Solution carefully to ensure proper dilution and foam production. First, choose the right foam gun for your needs—whether a standard or professional model.
Most foam guns have a chamber or reservoir for the car wash concentrate. To fill, remove the lid or cap, then pour the Gold Class concentrate into the designated compartment.
Remove the lid and pour the concentrate into the foam gun’s reservoir carefully.
Make sure to follow the recommended dilution ratio, usually found on the bottle. This helps you avoid foam that’s too thick or too weak. Some foam guns let you adjust the settings to control foam density by mixing the concentrate with water.
Always use clean, filtered water to prevent clogging and avoid overfilling. This ensures proper operation and rich foam that sticks well to your vehicle’s surface. After filling, carefully tighten all caps or lids to prevent leaks during use.
Proper filling guarantees you get the best foam, making your wash more effective and easier to rinse off.
Step-By-Step: Applying Foam With Your Foam Gun
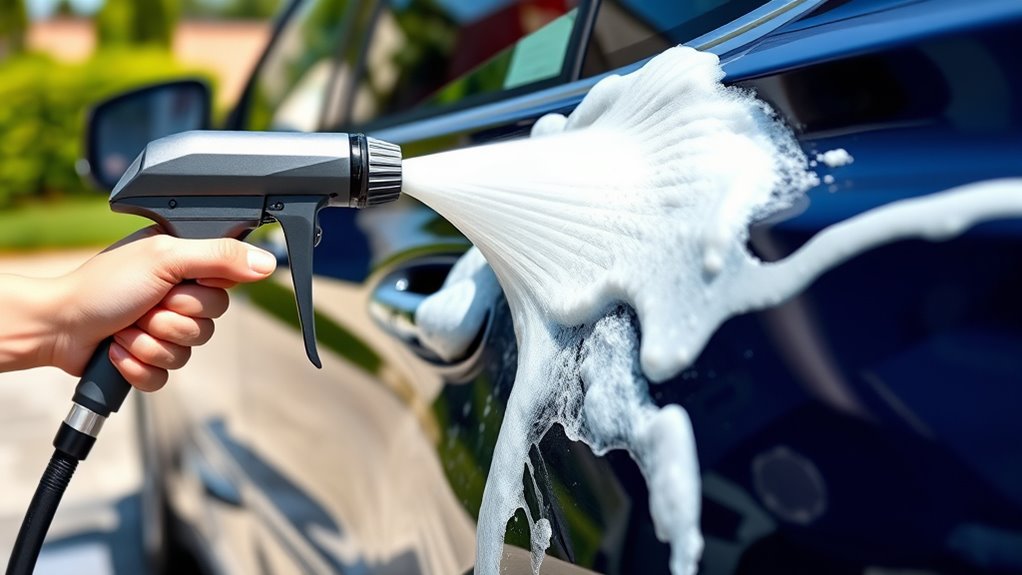
Once your foam gun is filled with the properly diluted Gold Class Car Wash solution, it’s time to apply the foam to your vehicle. Start by adjusting the nozzle for the right foam consistency—if it’s too thick, it won’t spread evenly. Too thin, and it won’t lift dirt effectively. Turn the nozzle slowly to find the perfect balance.
Aim the foam gun at your vehicle, keeping a steady distance to ensure even coverage. Spray in a sweeping motion, covering all surfaces thoroughly. Pay attention to the foam’s texture; it should be light and cling well without immediately running off.
If the foam is too watery or too thick, adjust the nozzle accordingly. Proper nozzle adjustment ensures you use soap efficiently and reduces waste. Use the table below as a quick reference for different foam consistencies and nozzle settings:
| Foam Consistency | Nozzle Adjustment | Ideal Use Case |
|---|---|---|
| Light & airy | Wide spray | Large surfaces |
| Thick & dense | Narrow spray | Detailed cleaning |
| Medium | Balanced spray | General washing |
| Runny | Wide spray | Rinsing |
| Clinging foam | Narrow spray | Spot cleaning |
Tips for Even Coverage and Minimizing Waste
Achieving even coverage while using your foam gun requires steady, controlled movements to prevent missed spots or uneven layers. Focus on maintaining a consistent foam consistency; too thick, and it’ll waste product, too thin, and coverage suffers.
Adjust your application technique by moving the foam gun smoothly across the surface, overlapping slightly with each pass. This guarantees uniform distribution without applying too much at once.
Move the foam gun smoothly, overlapping slightly for even, consistent coverage without over-application.
Keep your distance consistent. Holding the gun too close can cause drips and waste, while too far reduces coverage. Use quick, deliberate strokes instead of lingering in one spot.
To minimize waste, only spray the area you’re actively cleaning and avoid over-spraying. Refill the foam gun only when necessary, and aim for a balanced foam flow that covers without excess.
Properly controlling your application technique not only saves product but also ensures an even, thorough coating for the best cleaning results.
Rinsing and Removing Foam Without Scratches
To rinse and remove foam without scratching your car’s paint, it’s important to use the right technique and tools. Proper rinsing helps prevent scratches and gives you a spotless finish.
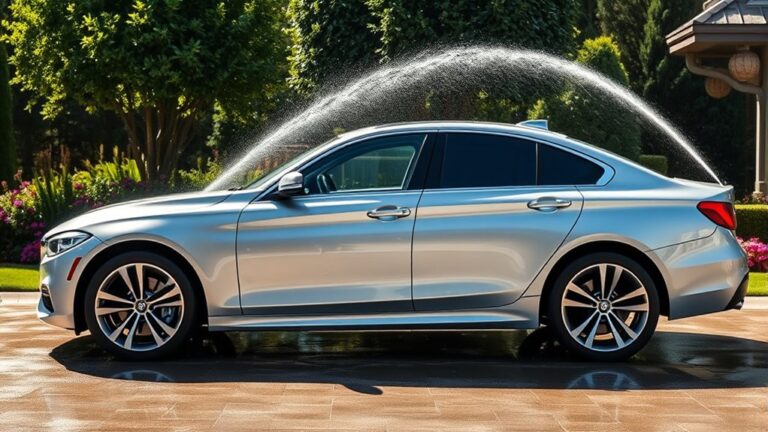
Use a gentle stream of water, starting from the top and working downward. Avoid high pressure that can disturb dirt particles and cause scratches. Rinse thoroughly to loosen and lift foam and debris.
Keep your wash mitt or sponge clean and free of grit during rinsing. This prevents dirt from scratching your paint as you wash.
| Technique | Benefit | Confidence Boosts |
|---|---|---|
| Gentle water flow | Scratch prevention | Peace of mind |
| Start high, rinse low | Removes debris efficiently | Pride in a scratch-free finish |
| Use clean tools | Maintains paint integrity | Satisfaction in quality |
Master these rinsing techniques, and you’ll keep your car’s paint flawless while easily removing foam.
Common Mistakes When Using a Foam Gun and How to Avoid Them
Using a foam gun can make your car wash more efficient and enjoyable, but it’s easy to stumble into common mistakes that can mess up your results. One mistake is neglecting foam gun safety, which can lead to uneven coverage or even damage. Always wear gloves and avoid spraying directly into your eyes or face.
Another issue is improper foam thickness. If it’s too thin, it won’t cling well and won’t clean effectively. On the flip side, overly thick foam can be hard to rinse and might leave residue. To prevent this, follow the manufacturer’s instructions for mixing ratios carefully.
Ensure proper foam thickness for effective cleaning and easy rinsing by following manufacturer’s mixing instructions carefully.
Rushing through the process or reapplying foam without rinsing can cause soap buildup. This can increase the risk of scratches on your vehicle. Always check that the foam is evenly distributed and stays consistent during your wash.
Keeping an eye on foam thickness and practicing foam gun safety will help you get a thorough, scratch-free clean while protecting your vehicle.
Washing Different Car Surfaces Safely With Foam
Different car surfaces need careful handling to avoid damage when cleaning with foam. To protect delicate areas like painted panels, glass, or plastics, consider surface compatibility and foam thickness.
Thinner foam works best on sensitive surfaces, as it reduces the risk of stripping wax or damaging coatings. Thicker foam provides more cushioning for rougher areas like tires or undercarriages, offering better cleaning power.
| Surface Type | Recommended Foam Thickness |
|---|---|
| Painted Panels | Thin, light foam |
| Glass | Very thin, minimal foam |
| Plastics & Trim | Medium foam |
| Tires & Undercarriage | Thick, dense foam |
Always adjust your foam gun to match the surface you’re cleaning. Using the right foam thickness ensures safe, effective cleaning without harming your car’s finish.
Maintaining and Storing Your Foam Gun for Long-Term Use
To keep your foam gun working great for a long time, it’s really important to clean it properly after each use. This helps make sure no leftover foam or debris clog the nozzle and cause problems later on. Taking a few minutes to clean it well can make a big difference in how well it performs over time.
When you’re done using it, just make sure to store it somewhere dry and cool. Keep it out of direct sunlight too, because too much heat or sunlight can damage the materials. By cleaning your foam gun carefully and storing it the right way, you’ll help it last longer and keep working smoothly whenever you need it.
Proper Cleaning Techniques
Regularly cleaning and properly storing your foam gun guarantees it works effectively over time. To keep the foam consistent, rinse the gun thoroughly after each use to remove residue and prevent clogs.
Use warm water to flush out any leftover soap or debris. Pay attention to the nozzle adjustment; make sure it’s set correctly for a steady foam application. If the foam becomes thin or uneven, tweak the nozzle to restore the proper spray pattern.
Keep the nozzle and internal parts free of dirt and buildup. Avoid harsh chemicals that could damage seals or components. Regular cleaning not only extends your foam gun’s life but also ensures a steady, high-quality foam spray every time.
This makes your car wash process more efficient and effective.
Storage Environment Tips
Proper storage is key to keeping your foam gun in great shape for the long haul. Store it in a cool, dry place, and avoid extreme temperatures that could damage the internal parts. The best temperature range is between 50°F and 77°F (10°C to 25°C).
Keep humidity low to prevent rust and mold growth, ideally below 50%. Always empty any leftover solution and rinse the gun thoroughly before putting it away. Don’t leave it outside or in spots exposed to direct sunlight or moisture.
Think about hanging the foam gun or storing it in a dedicated container to prevent accidental damage. Proper storage helps keep your foam gun working well, prevents clogs, and extends its lifespan.
Make sure to regularly check and maintain your gun so it’s ready to use whenever you need it.
Troubleshooting Foam Quality and Application Issues
If your foam isn’t applying evenly or lacks the thick, rich consistency you expect, several factors could be at play. First, check your foam consistency—adjust nozzle settings to improve foam thickness. Small nozzle tweaks can make a big difference in applying a uniform layer.
Also, review your dilution ratios. Too much soap thins the foam, while too little reduces coverage. Water quality impacts foam; hard water can weaken foam formation, so consider using filtered water if needed.
Confirm your pressure settings are appropriate. Too low, and foam won’t cling properly; too high, and it may spray unevenly. Finally, refine your application technique by maintaining a consistent distance and motion during application.
Frequently Asked Questions
Can I Use Gold Class Car Wash on All Vehicle Types?
Yes, you can use Gold Class Car Wash on most vehicle types because of its versatile formula. It’s designed to be compatible with a wide range of surfaces, making it safe and effective.
Its product versatility means you don’t need separate washes for different vehicles. Just follow the instructions, and you’ll get a thorough clean without worry.
Whether you’re washing cars, trucks, or some specialty vehicles, Gold Class Car Wash is a convenient choice for various needs.
How Often Should I Clean and Maintain My Foam Gun?
Did you know that neglecting foam gun maintenance can reduce its efficiency by up to 50%? You should clean your foam gun after every use to keep it working at its best.
Regular cleaning helps prevent clogs and buildup, which can extend the lifespan of your foam gun. To do this properly, disassemble and rinse all parts with warm water once a week.
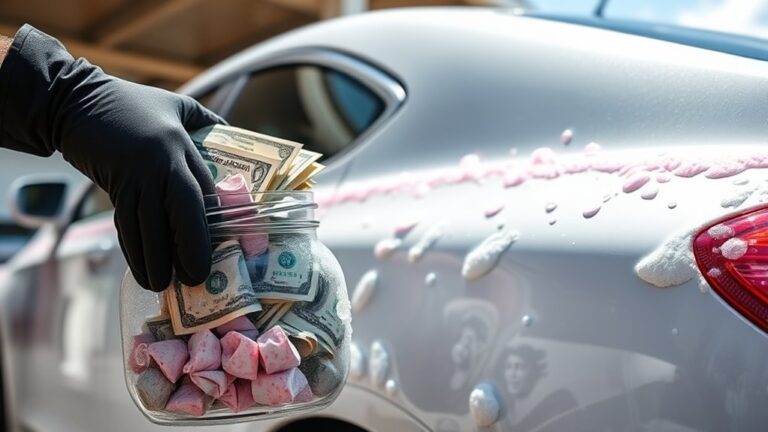
Following this routine keeps your foam gun functioning smoothly, making your car washes more effective and saving you money in the long run.
Is It Safe to Use Gold Class Car Wash in Cold Weather?
Yes, it’s safe to use Gold Class Car Wash in cold weather, but you should think about a few cold weather tips.
Make sure your car wash and foam gun are compatible with low temperatures to prevent freezing or clogs. It’s a good idea to keep the wash solution warm before you start.
Try to avoid washing your car outside if temperatures drop below freezing. Properly storing your foam gun and cleaning it afterward will help keep it working well in cold conditions.
Can I Mix Gold Class Car Wash With Other Cleaning Products?
Sure, go ahead and mix Gold Class Car Wash with other cleaning products—if you enjoy sacrificing cleaning compatibility and risking product effectiveness. Mixing cleaners can cause chemical reactions, reducing the foam’s ability to lift dirt and potentially damaging your paint.
For the best results, stick to Gold Class Car Wash alone, ensuring it performs as intended. After all, why compromise on quality when your car deserves the best care?
What Is the Ideal Pressure Setting for Optimal Foam Application?
Set your pressure between 1200 to 1500 PSI for ideal foam thickness. Too high pressure causes the foam to dissipate quickly, reducing coverage. Too low, and you might not generate enough foam.
The pressure impact is vital; maintaining the right level guarantees a thick, clingy foam that lifts dirt effectively. Adjust your pressure accordingly to achieve a consistent, luxurious foam layer.
This helps ensure a thorough, professional wash every time.
Conclusion
Using your foam gun with Gold Class Car Wash is a fantastic way to get a thorough, safe clean. Proper foam application can also help cut water use by up to 50%, making your wash more eco-friendly.
Just follow these simple steps, avoid common mistakes, and keep your equipment in good shape. That way, you’ll always get the best results and protect your car’s finish.
Sticking to a regular wash routine with Gold Class Car Wash and your foam gun will give you that professional-grade shine right at home. Enjoy the sparkling, clean car every time!